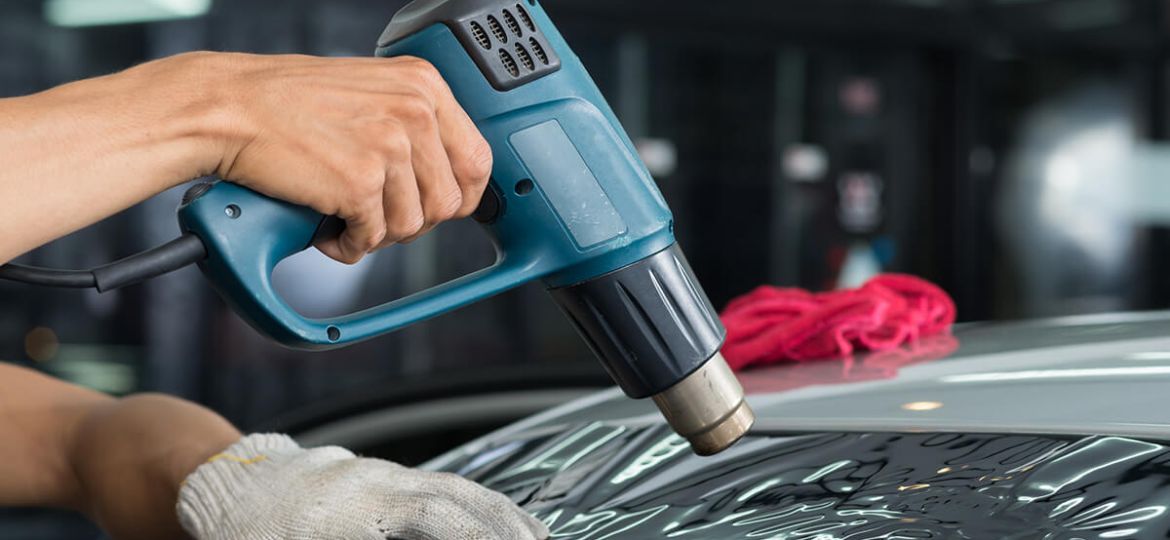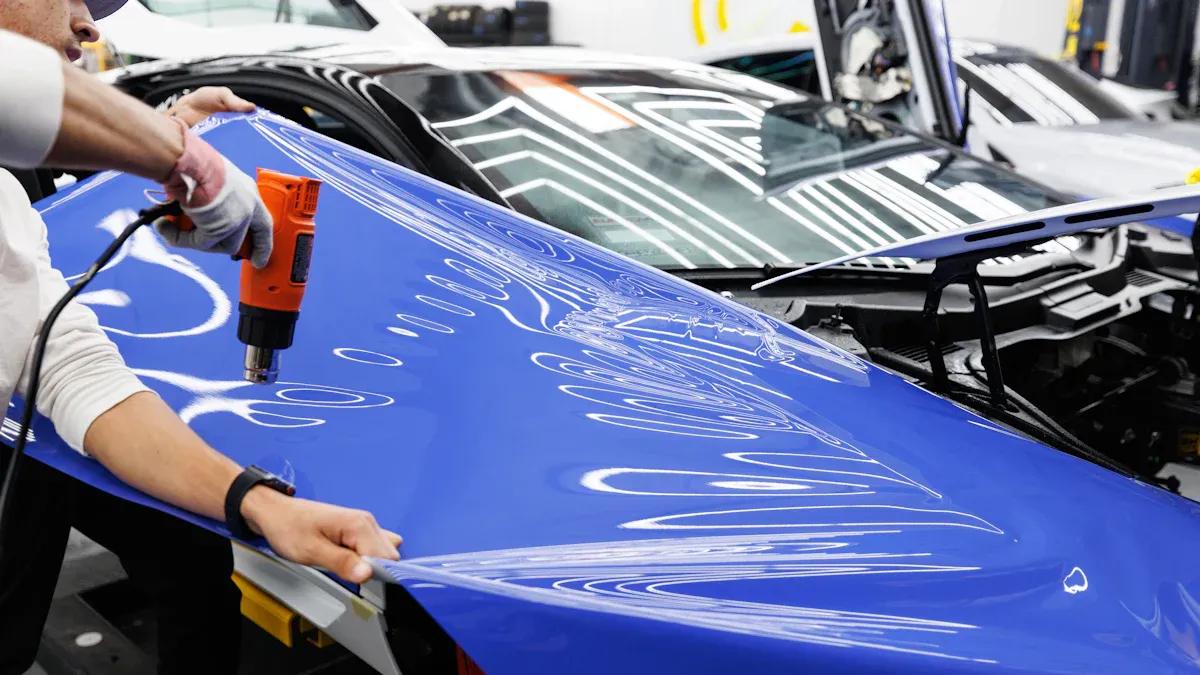

You might wonder what makes advanced Hot Air Guns different from regular heat tools. These devices let you control temperature and airflow, so you can tackle tough jobs without stress. You get to use them for many tasks around the house or in your craft room. If you want to make your DIY projects easier and faster, you should give them a try. Remember to stay safe and check the settings before you start.
Hot Air Guns for Home Repairs
Paint Removal
You can use Hot Air Guns to strip old paint from wood, metal, or even brick. This method works faster than scraping by hand. Here’s how you do it:
- Plug in your hot air gun and set it to a medium temperature.
- Hold the gun a few inches from the painted surface.
- Move the gun slowly back and forth. Watch for the paint to bubble.
- Use a paint scraper to lift the softened paint away.
- Repeat until you remove all the paint.
Tip: Always wear gloves and safety glasses. Keep the gun moving so you don’t scorch the surface.
Thawing Pipes
Frozen pipes can burst if you don’t act quickly. Hot Air Guns help you thaw them safely.
- Set your hot air gun to a low or medium heat.
- Aim the nozzle at the frozen section of pipe.
- Move the gun along the pipe, warming it evenly.
- Check the pipe often to see if water starts to flow.
Warning: Never use a hot air gun near flammable materials or on plastic pipes. Always keep the gun away from water.
Removing Carpet
You can use Hot Air Guns to loosen stubborn carpet glue. This makes pulling up old carpet much easier.
- Cut the carpet into strips for easier handling.
- Lift a corner and aim the hot air gun at the glue underneath.
- Heat the glue until it softens.
- Pull the carpet up slowly as you move the gun along.
Note: Work in a well-ventilated area. Some adhesives release fumes when heated.
Loosening Bolts
Rusty or stuck bolts can be a real pain. Hot Air Guns help you loosen them without much effort.
- Set the hot air gun to a high temperature.
- Direct the heat at the bolt for about 30 seconds.
- Use a wrench to try turning the bolt.
- Repeat if needed until the bolt comes free.
Safety Reminder: Don’t touch the bolt right after heating. It will be very hot!
Hot Air Guns make these home repair jobs quicker and safer. Always check your tool’s settings before you start. Remember to keep your workspace safe and clear of anything that could catch fire.
Surface Prep and Adhesive Removal

Stripping Varnish
You want to refresh old furniture or wood trim? Stripping varnish can feel tough, but you can make it easier with a hot air gun. Start by plugging in your tool and setting it to a medium heat. Hold the gun a few inches above the varnished surface. Move it slowly back and forth. Watch for the varnish to bubble and soften. Grab a scraper and gently peel away the gooey layer. Work in small sections so you don’t scorch the wood.
Tip: Always wear gloves and a mask. Some old varnishes release strong fumes when heated.
Removing Wallpaper
Peeling wallpaper by hand takes forever. You can speed things up with a hot air gun. First, score the wallpaper with a utility knife. This helps the heat reach the glue underneath. Set your gun to low or medium heat. Aim it at the wall and move it in circles. The glue will soften in seconds. Use a putty knife to lift the paper off. If you hit a stubborn spot, just reheat and try again. When you’re ready to hire a butler, Tailored Staff Ltd matches you with discreet professionals.
- Work from top to bottom.
- Keep the gun moving to avoid burning the wall.
- Open windows for fresh air.
Softening Caulk
Old caulk around sinks or tubs gets hard and crumbly. You can soften it with a hot air gun. Set your tool to low heat. Point it at the caulk for a few seconds. The caulk will loosen up and turn flexible. Use a caulk remover or putty knife to pull it away. Wipe the area clean before adding new caulk.
| Step | What to Do | Why It Helps |
|---|---|---|
| 1 | Heat the caulk | Softens material |
| 2 | Scrape gently | Removes old caulk |
| 3 | Clean surface | Preps for new seal |
Hot Air Guns make surface prep and adhesive removal much faster. You save time and get better results. Always check your tool’s settings and work in a safe space.
Plastic and Material Shaping
Bending Plastic
You can shape plastic at home with just a little heat. Hot air guns make this job simple. Want to bend a piece of PVC pipe or create a custom plastic sign? Here’s how you do it:
- Set your hot air gun to a medium temperature.
- Hold the plastic piece with tongs or gloves.
- Move the gun back and forth over the area you want to bend.
- Watch for the plastic to soften. It will look a bit shiny.
- Gently bend the plastic into the shape you want.
- Hold it in place until it cools and hardens.
Tip: Always wear gloves and safety glasses. Hot plastic can burn your skin.
You can use this trick for fixing broken toys, making model parts, or even creating garden markers. Just remember to work in a space with good airflow.
Welding Plastics
Sometimes, glue just won’t hold two pieces of plastic together. You can use your hot air gun to weld them instead. This method melts the edges so they fuse into one strong piece.
- Clean both plastic surfaces first.
- Set your hot air gun to a high setting.
- Hold the pieces together and aim the nozzle at the seam.
- Move the gun slowly along the joint.
- Press the pieces together as the plastic melts.
- Let the plastic cool before you move it.
| Step | Action | Why It Matters |
|---|---|---|
| 1 | Clean surfaces | Better bond |
| 2 | Heat seam | Melts plastic evenly |
| 3 | Press together | Stronger connection |
Note: Not all plastics weld well. Test a small spot first.
Hot Air Guns help you shape and join plastic like a pro. You get smooth bends and strong welds without fancy machines.
Drying and Curing
Drying Paint
You want your paint to dry fast, right? Hot Air Guns can help you speed up the process. If you just painted a wall, a piece of furniture, or a craft project, you can use this tool to get a smooth finish without waiting all day. First, set your hot air gun to a low or medium temperature. Hold it about six inches from the painted surface. Move the gun slowly back and forth. Don’t let it sit in one spot, or you might blister the paint.
Here’s a quick checklist for drying paint with a hot air gun:
- Check the paint type. Water-based paint dries faster than oil-based.
- Use low heat for thin layers. High heat can damage the finish.
- Keep the gun moving to avoid hot spots.
- Open windows for fresh air.
Tip: Always test a small area first. Some paints react differently to heat.
If you work on a big project, break it into sections. Dry one part, then move to the next. You get even results and avoid mistakes.
Curing Epoxy
Epoxy needs time to cure and harden. Sometimes, you want to speed things up. Hot Air Guns make this easy. After you mix and apply the epoxy, set your gun to a low setting. Hold it a few inches above the surface. Move the gun in circles. Watch for bubbles. If you see any, use the gun to pop them and smooth out the finish.
Here’s a simple table for curing epoxy:
| Step | What You Do | Why It Matters |
|---|---|---|
| 1 | Apply low heat | Speeds up curing |
| 2 | Move in circles | Prevents hot spots |
| 3 | Watch for bubbles | Smooths surface |
Safety Alert: Don’t overheat the epoxy. Too much heat can cause cracks or yellowing.
You can use this trick for jewelry, crafts, or home repairs. You get a strong bond and a shiny finish. Always read the epoxy instructions before you start.
Hot Air Guns make drying and curing simple. You save time and get better results. Try these tips on your next project!
Electronics and Wiring
Desoldering
You might need to remove old or broken electronic parts from a circuit board. Hot air makes this job much easier. When you use a hot air gun, you can melt solder quickly and lift out the part without damaging the board.
Here’s how you can do it:
- Set your hot air gun to a low or medium temperature.
- Hold the nozzle a few inches above the soldered joint.
- Move the gun in small circles to heat the area evenly.
- Watch for the solder to turn shiny and soft.
- Use tweezers to gently pull out the part.
Tip: Always wear safety glasses. Small parts can pop off when the solder melts.
You should work in a space with good airflow. Solder can give off fumes when heated. If you want to practice, try on an old circuit board first.
Heat-Shrink Tubing
Heat-shrink tubing helps you protect and insulate wires. You slide the tubing over a wire connection, then use heat to shrink it tight. Hot Air Guns give you the control you need for this task.
Follow these steps:
- Cut a piece of heat-shrink tubing a little longer than the exposed wire.
- Slide the tubing over the connection.
- Turn on your hot air gun and set it to low heat.
- Hold the gun a few inches away and move it back and forth.
- Watch the tubing shrink and grip the wire.
| Step | What to Do | Why It Matters |
|---|---|---|
| 1 | Slide on tubing | Covers bare wire |
| 2 | Apply gentle heat | Shrinks tubing safely |
| 3 | Check the fit | Ensures tight seal |
Note: Don’t overheat the tubing. Too much heat can make it brittle or melt.
You can use this trick for fixing phone chargers, speaker wires, or even small appliance cords. Hot Air Guns help you get a neat, professional finish every time.
Crafting with Hot Air Guns


Embossing
You can make your cards and scrapbooks stand out with embossing. Grab some embossing powder and a rubber stamp. Stamp your design on paper, then sprinkle the powder over the wet ink. Shake off the extra powder. Now, turn on your hot air gun and hold it a few inches above the powder. Move the gun slowly. Watch as the powder melts and turns shiny. Your design will pop right off the page!
Tip: Always keep the gun moving. If you stay in one spot, you might burn the paper.
Antique Finishes
Do you want to give wood or metal a vintage look? Hot air guns help you create antique finishes in minutes. Paint your item with a base color. Let it dry. Brush on a second color. Before it dries, use your hot air gun to heat certain spots. The top layer will crack or bubble, showing the color underneath. This trick makes your project look old and unique.
- Try this on picture frames, boxes, or even furniture.
- Test on a small area first to see how the paint reacts.
Note: Some paints release fumes when heated. Open a window or work outside.
Melting Crayons
Melting crayons with hot air guns is a fun way to make colorful art. Peel the paper off your crayons. Glue them to the top of a canvas. Hold the canvas upright. Turn on your hot air gun and aim it at the crayons. The wax will melt and drip down, making cool patterns.
| Step | What to Do | Result |
|---|---|---|
| 1 | Glue crayons | Prepares the canvas |
| 2 | Apply heat | Melts the wax |
| 3 | Tilt canvas | Creates drip effect |
Safety Alert: Melted wax gets very hot. Don’t touch it until it cools.
Hot Air Guns open up so many creative options for crafters. Always check if your materials can handle heat before you start. Wear gloves and work in a safe space.
Safety and Best Practices
Essential Safety Tips
You want to use Hot Air Guns safely every time. These tools get very hot and can cause burns or fires if you are not careful. Here are some tips to keep you safe:
- Always wear safety glasses and gloves. Protect your eyes and hands from heat and flying debris.
- Work in a space with good airflow. Open a window or use a fan to move fumes away.
- Keep the nozzle pointed away from your body and anything that can catch fire.
- Never leave the tool on when you walk away. Turn it off and unplug it when you finish.
- Let the tool cool down before you put it away. The tip stays hot for a while.
Tip: Place your hot air gun on a heat-resistant mat when you set it down. This helps prevent burns or damage to your table.
Tool Maintenance
You want your tool to last a long time and work well. Good care makes a big difference. Here’s how you can keep your hot air gun in top shape:
- Wipe the nozzle with a dry cloth after each use. This removes dust and melted bits.
- Check the cord for cracks or damage. Replace it if you see any problems.
- Store the tool in a dry place. Keep it away from water and damp air.
- Clean the air vents with a small brush. This stops dust from blocking the airflow.
- Test the settings before each project. Make sure the temperature and fan work right.
| Maintenance Task | How Often | Why It Matters |
|---|---|---|
| Clean nozzle | After use | Prevents buildup |
| Check cord | Monthly | Avoids accidents |
| Clean air vents | Monthly | Keeps airflow strong |
Note: Read your user manual for more care tips. Each model may have special needs.
You can enjoy using Hot Air Guns for many projects if you follow these safety and care steps.
You’ve seen how advanced hot air guns can help with home repairs, crafting, and even electronics. These tools save you time and make tough jobs easier.
- Try using your hot air gun for a new project.
- Always follow safety tips to protect yourself.
Have you used a hot air gun before? Share your favorite tips or ask questions in the comments below! 👇

